HISTORY

Once upon a time there was an empty room…

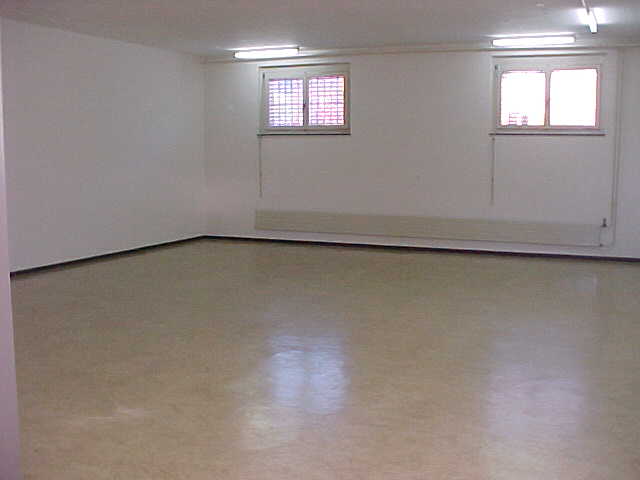
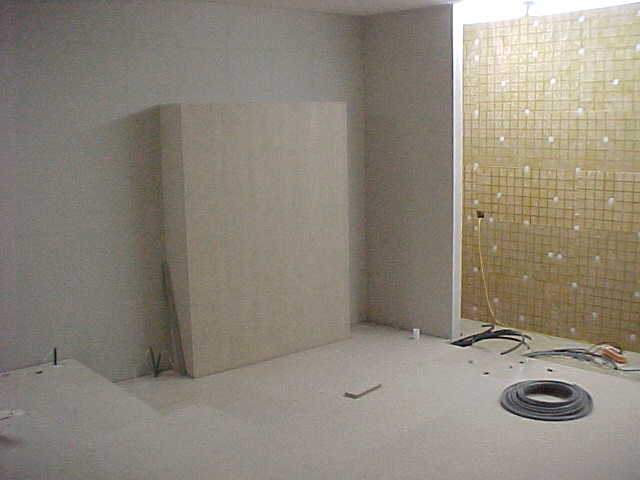
The room we chose for SubCentral is approximately 2/3 below groundlevel. The window’s bottom is just about at the outside groundlevel. Due to this underground location, the room is very well isolated to noise transmission. The size of the room is 100 m2 (square meteres) or 12.5 x 8.0 m, height is 3.4 m. (492″ x 315″ x 134″ LxWxH). The name „SubCentral“ was created on our way home from a German Home Theater expo. „Central“ is based on the German word „Zentrale“, because the theater is built in the basement of a phone company building, called „(Telefon-)Zentrale“ in German. As it is in the basement and therefore below the „Zentrale“ itself, we added the latin term for „below“ in front of „central“, resulting in „SubCentral“. Of course, the „Sub“ is also an hommage to the two 18″ subwoofers we have in use…

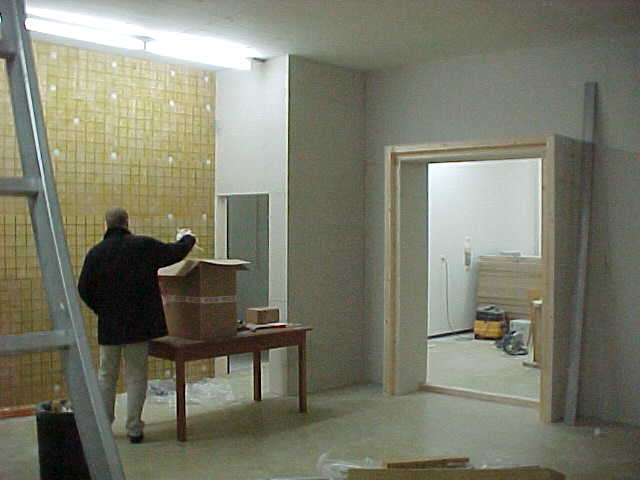
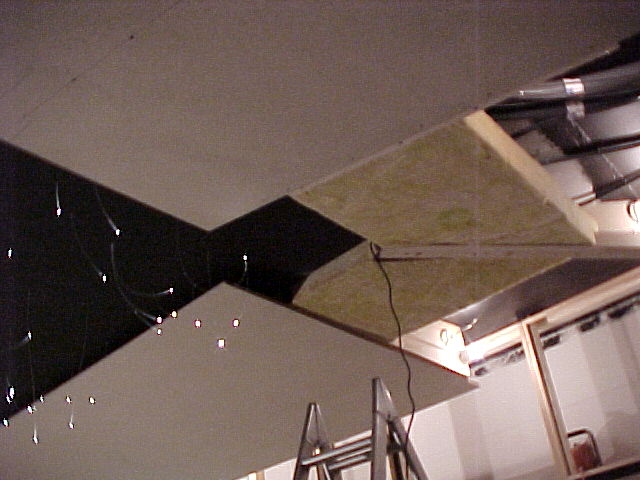
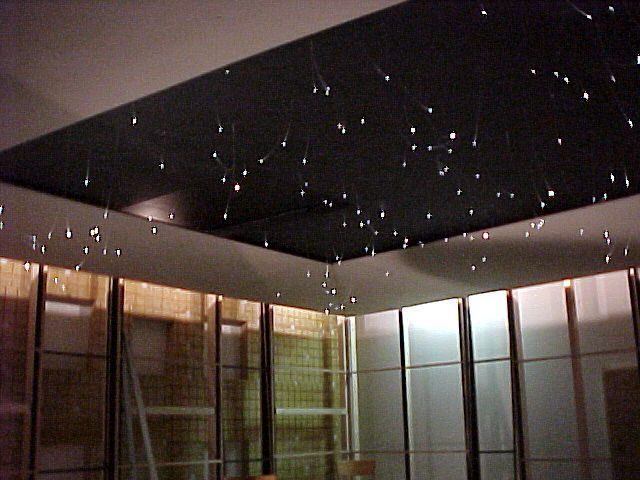
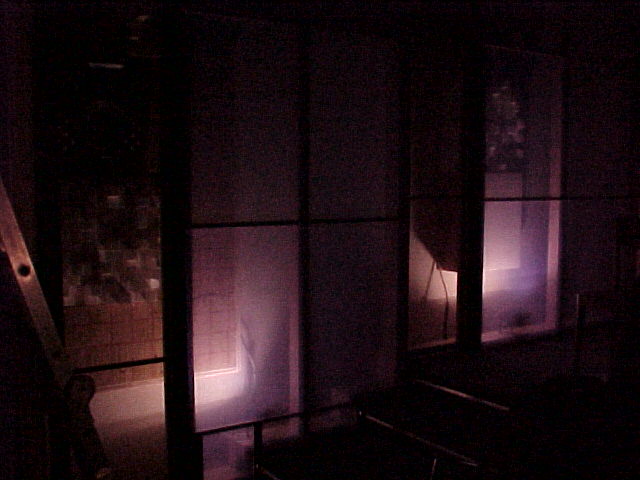
This again shows the room as it was when we started. On Wednesday, January 17, 2001 at 8 a.m. we first set foot in the almost empty room:
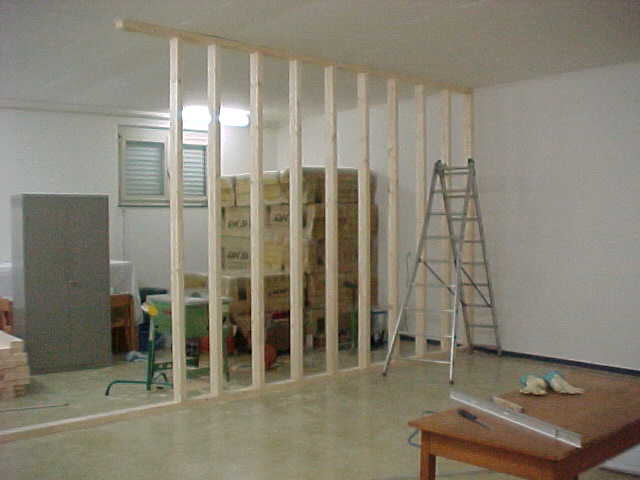
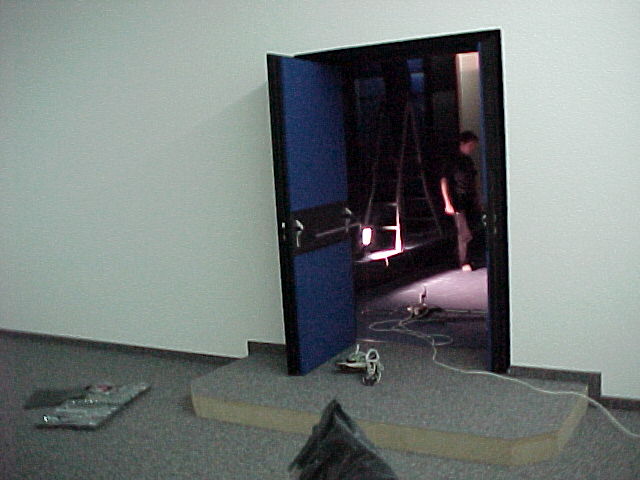
„One small step for mankind, one giant leap for us…“ A lot of construction material had to be unloaded from several trucks that morning…

At the end of the first day, we already had constructed the outline of our new home theater. We built some artificial walls in order to create „a room within a room“. The outer wall was made of heavy 6 x 10 cm (2 3/8″ x 4″) wooden planks as was the bottom and top lining. Construction went fast due to the air-pressure driven „wave nailer“ tool we used.
After two days, the outline of the new room was almost finished.The spaces between the planks had been previously calculated and measured and could now be filled with the damiping material. Standard fiberglass wool from our local store did just fine. Of course, there still was a lot of cutting to do… a work that can be pretty icky sometimes and the glass splitters in the air easily make you cough. We highly recommend wearing protection devices when working with fiberglass wool.

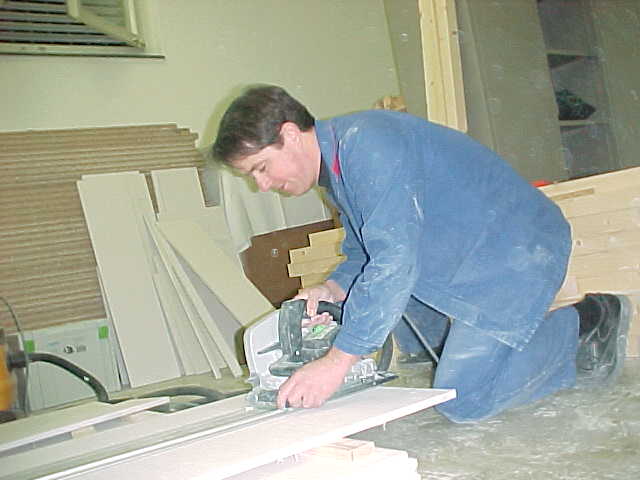
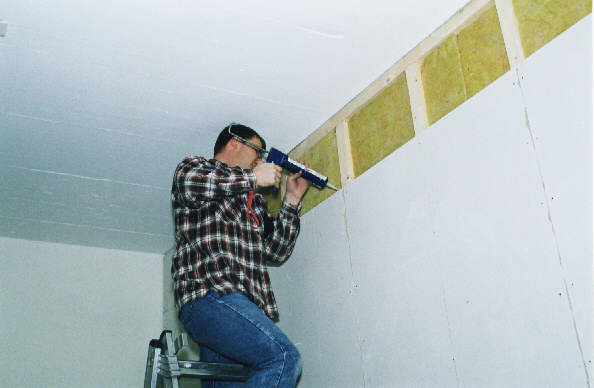
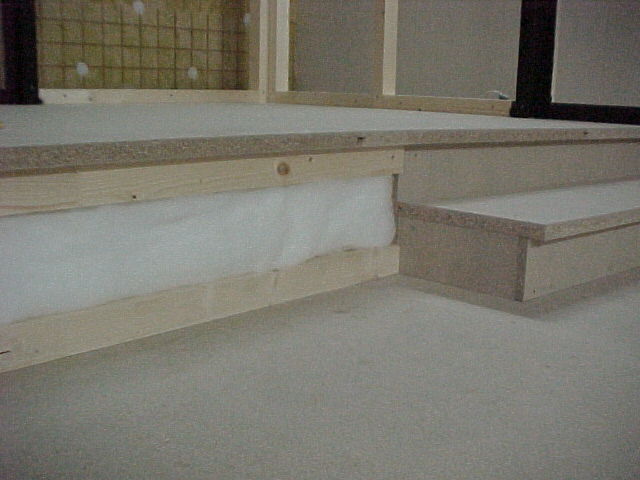
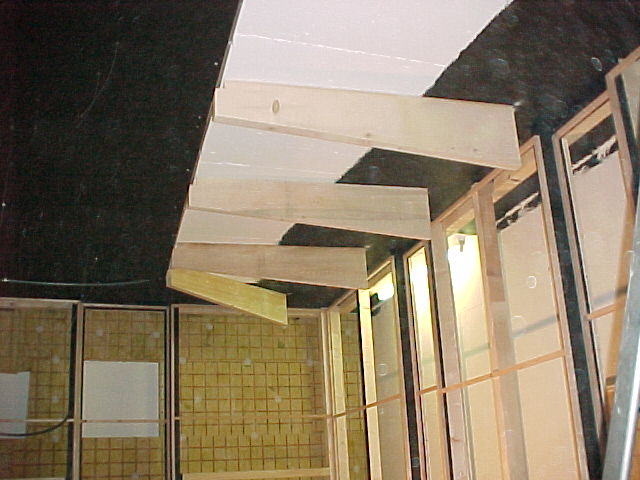
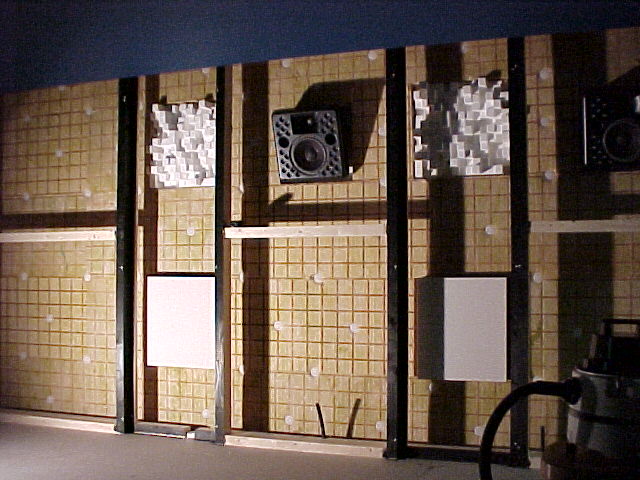
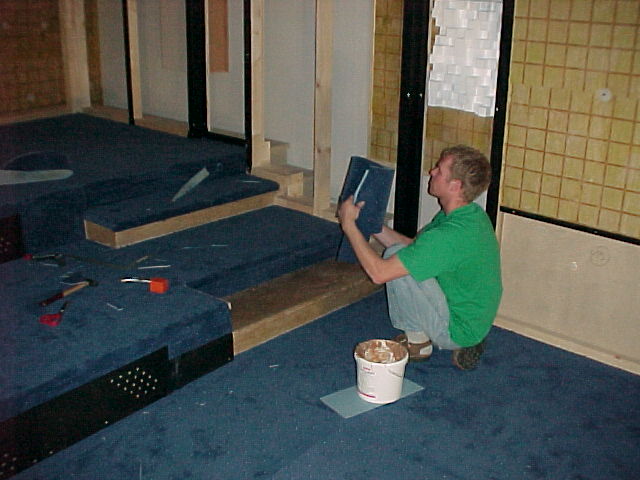
The artificial walls had to be covered with Fermacell, a material similar to and with the acoustic advantages of gypsum, but much more durable (reinforced) and easier to work with. Slicing was done with an electric saw and an attached vacuum cleaner. Still, this work was a very dusty one… as you can see. What was to become the “Foyer” in the future has served as the “cutting and slicing” area during the construction of the main room of the home theater.

The Fermacell plates have been firmly attached with lots of screws to the planks. The narrow gap between two Fermacell plates were filled with a silicon rubber to completely seal off any air hole there might have been. The idea was to have the room completely sealed from the outside as any unwanted leak could lead to distortion or noise reverberations.
Carefully applying the silicon rubber on the top row of Fermacell plates…
Final cuts had to be made in order to have space for electrical wiring as well as lighting cables. As mentioned before, it is highly recommended to wear a protection device when cutting the fiberglass wool.
Within one week, the „room within the room“ was finished. The walls had all been covered, the gaps were sealed and everything looked fine. The main entrance to the home theater was still without any doors, but other than that, we quite liked the results after only one week of work.
This picture shows the interior of the inner room. There is no front baffle wall yet, but a frame around the main entrance had been constructed. It had the exact same depth as the fake wall would have behind which we would cover the loudspeakers and all the acoustical treatment. The outer wall had also been treated with acoustical damping material in order to absorb any sound that might come from the baffle wall. The intention was that the room behind the screen (baffle wall) was as dead as possible with no reflections or reverberations whatsoever. Any of these could diminuish sound quality in the home theater.
Once everything had its final shape, a fake front baffle wall was mounted to seal off the main listening room. With the help of WSDG-e and their professional acoustical equipment we measured the room and its resonances (eigentones, room modes). A speaker and microphone were placed at different locations in the home theater and recordings were analyzed on the computer using special software. A professional test tone generator was hooked up to the installation providing reference quality test signals.
Here’s a picture of a test setup. Speaker, microphone and test tone generator were hooked up to the computer. Both outgoing and incoming signals could then be compared and based on the variations, calculations were made. The results were then analyzed at WSDG-e’s office and a detailed report containing simple and understandable countermeasures was mailed to us a few days later. We used different types of acoustical treatment to even out the eigentones of the room.
The crossing planks of the elevated floor were ideal to have all the wiring installed in between the spaces. We used tubes for loudspeaker cables, stair light, back light (our favourite!) and some for additional purposes (USB, power, etc.) Special pre-cautions were taken in order to have power, light and loudspeaker cable with a minumum distance of 20 cm (approx. 8″) from each other in order to avoid intereference between them all.
Once all the tubes were in their place, the floor could be mounted. We used some heavy layers of chip board and screwed it tightly to the ground. Gaps were again glued to be sealed tight. The middle and back rows are elevated 30 cm (12″) from the main floor, with steps on each side of half this height.
Opposite of the main entrance we built a „twin“ of it. This helps to keep the room absolutely symmetrical and does therefore not add any problems due to uneven reflections from the side walls.
The front side of each level shows a special-sized space (based on the calculations of the room mode measurement) filled with special damping wool, soon to be covered by a custom made cover with an exact number of drill-holes giving a calculated surface of air leakage to eliminate one of the formerly measured room modes. On the right side, you can see the stairway steps being half as high as the level. Also, you may have noticed the short overlapping edge of the steps under which the indirect stairway lighting will soon be installed.
A black baffle wall was mounted on the front side of the room, or at least half of it was mounted when this picture was taken. Fully mounted it will provide housings for all three front channel speakers, two subwoofers and also serves as mounting plate for the large and micropreforated Stewart Luxus Deluxe ScreenWall with ElectriMask. On the left side is an adjustable rack for all the electronic equipment (accessible from both front and back!), on the right side we have the shelf for some hundreds of DVDs.
This is an image from outside the home theater with view through the main entrance. The black covers on the front side of the levels have been attached and some damping material has been mounted on the left wall. Between the two black planks you can see an empty space where the side surround channel will be mounted soon. On the right leads a door behind-the-screen in the equipment room. Speakers and all electronic equipment is easily accessible from the backside. This room is very convenient when servicing or changing something in the configuration.
The high left rear corner shows the supports we mounted on the ceiling. They will soon carry the fake and slightly downwards angled ceiling. The spaces between these supports are soon to be filled with more sound absorbing material, resulting in no reflections or no added bass activities from the ceiling. The back wall is also completely covered with damping material, leaving spaces only for special acoustical treatment and back surround speakers.
Above the fake ceiling we run more than 1000 meters of fiber optics for the starlight ceiling. The „stars“ are still hanging from the ceiling in this picture, but a few days later they will be cut down. Also, you can see the huge tube (4.9 cm / 2″) we installed to the projector. It will have to provide enough space for RS-232 control as well as a high quality RGB/HV cable.
This picture shows again the finished starlight ceiling with hanging stars. The fake angled ceiling is now finished and the indirect shining light that offers this beautiful ambient light has been turned on for the first time (and worked ????
The nearly finished back wall shows one of a total of 6 JBL Professional 8340A THX surround speakers. On both the left and the right side of this back surround speaker, we installed a SKYLINE panel in order to get a diffuse surround sound and almost no direct reflections from the front speaker sound waves. Below the diffusor panels there are two white boxes. They are MODEX panels and absorb bass at a certain frequency and help to even out another peak of a room mode we measured before. After all the acoustical treatment was made, the room responded pretty much linear to all frequencies.
The TRIAD Gold LCR/10 InWall fit perfectly in the holes of the baffle wall. On of the great advantages of this speaker besides its exceptional sound qualtiy is its ability to tilt. We were able to aim it and point it directly to the main listening area and thus get superb overal tonal balance and crisp and clear dialog reproduction. The front Left and Right speakers were not only tilted vertically, but also toed in horizontally in order to exactly meet the specifications of the THX installation manual.
This picture shows the front wall with all its speakers in place and some more absorbing material next to the two 18″ SMART subwoofers. The Stewart Luxus Deluxe ScreenWall Horizontal ElectriMask was mounted without the projection surface yet. We wanted to keep it protected from the dust during the construction of the home theater. We also left the plastic covers on the frame to protect the stylish velux finish of the Stewart screen.
Then it was time to color up the room a bit. The guys of FAHRNI laid a beautiful dark blue carpet and did quite a good job regarding the edges and steps and special wishes we had. The carpet was glued in and had a special back to absorb unwanted noise from the floor when walking on it.

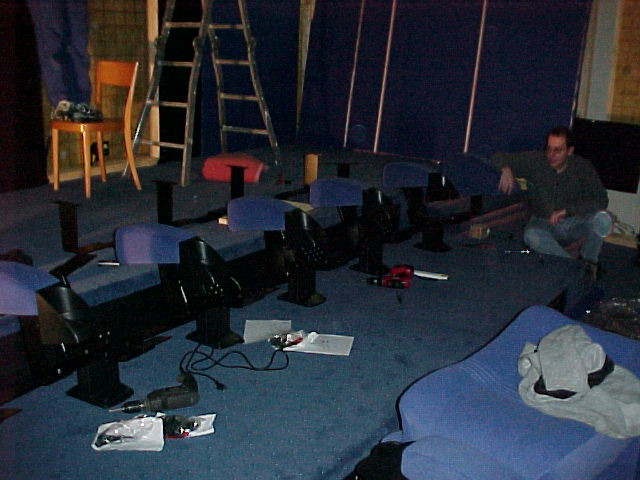
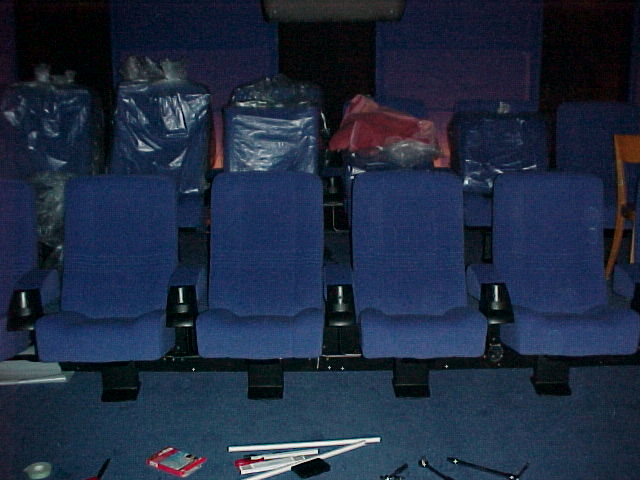
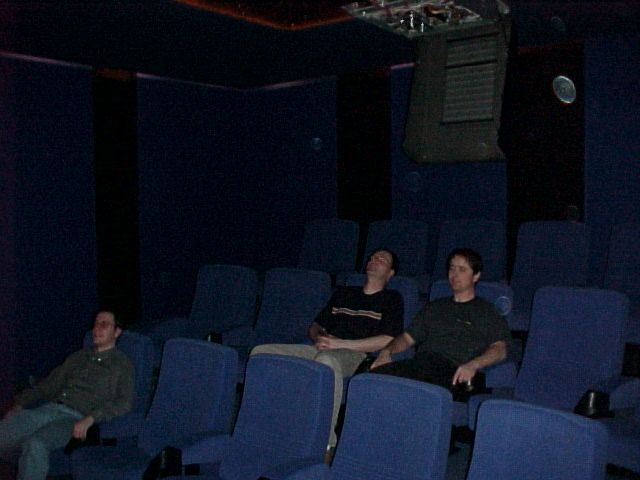
The chairs in SubCentral were custom made by the French seating company Quinette. Our main goal was to get more leg space and larger seats than most public theaters do. Quinette custom made such a chair for us with an XL arm rest (so you don’t have to fight over it with the guy next to you!), a matching cupholder and an adjustable width of 60 cm (23.6″) or more at a reasonable price. The only „bad“ thing about Quinette was that they produced them only in quantities of 16, plus a sample. This is why SubCentral has 17 seats…

The first two rows of our beautiful chairs… aren’t they neat? The outer chairs were slightly angled towards the center of the screen, offering a perfect view from any seat. Ah… just wonderful!

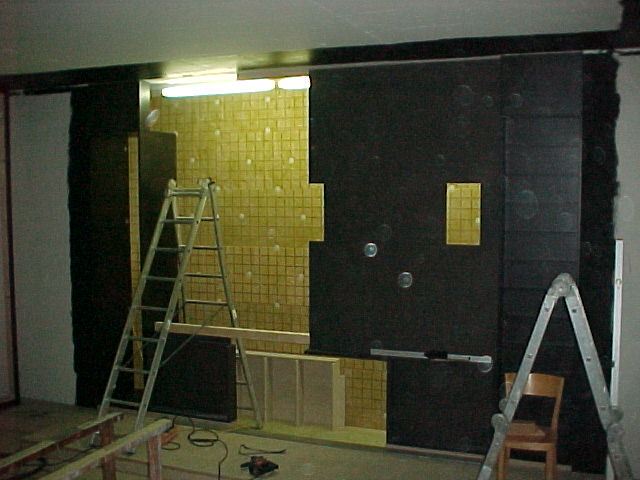
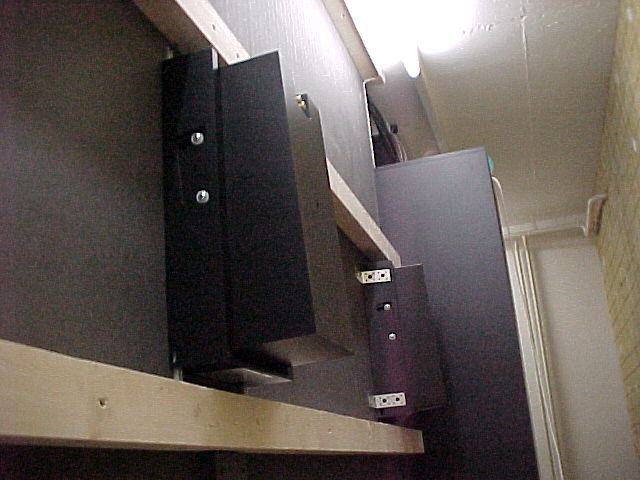
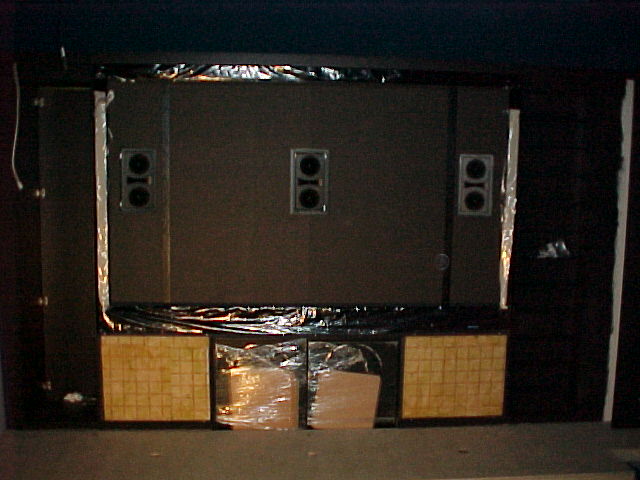
This is our favourite – the backlight! Every speaker, damping material and acoustical treatment has been hid behind a fake wall that is acoustically transparent. Blue and black acoustically transparent fabric has been pulled over several panels and tacked on in the back. The panels have been attached with pushbuttons and can not be seen through from inside the room. At the touch of a button we can turn on spots behind the fake wall and the acoustically transparent fabric then gets see-through.


Here’s another shot from the Foyer with view through the main entrance. The door is now in place, featuring heavy duty emergency exit handles. An emergency exit sign – fed with a special power source – automatically turns on when the main power to the room gets cut and all other light and/or equipment falls out. There is also a small step on the outside to bring the entrance level to the same height as the elevated floor inside the home theater.
The nearly finished front wall now has the microperf projection surface installed and dimmed stage lights. The red curtain we installed in the meantime is not yet mounted, when this picture was shot. The Screen has a width of 3048 mm (120″) in 16:9 HDTV format (1.78:1). The horizontal masking system allows us to mask any aspect ratio from 1.78:1 to 2.66:1 and is a great benefit to picture quality as the black bars can be really masked black instead of only black projection on a white surface. Ask anyone who has seen the difference or come and find out for yourself!
Relax… Boy, was it time to just sit back and relax after the endless number of hours we spent constructing this home theater and still there was no end in sight (there never will be an end… no matter how good your components are you will always find something to tune around, change a detail here, add something there). It was the first time we had a picture and just enjoyed watching… and remember: every seat is the best seat in the house!

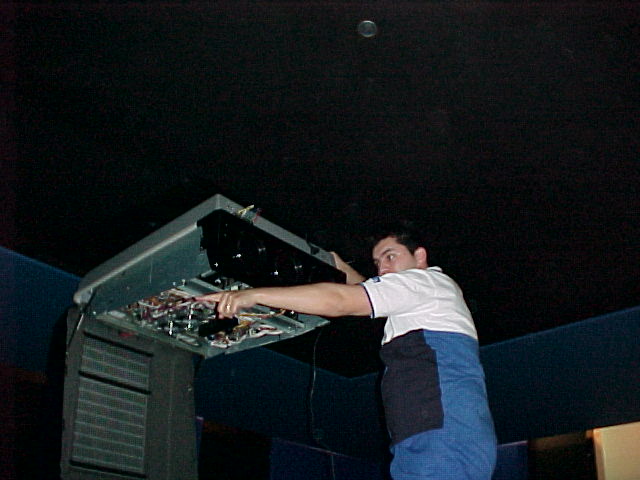
„Hand me that wrench over there“

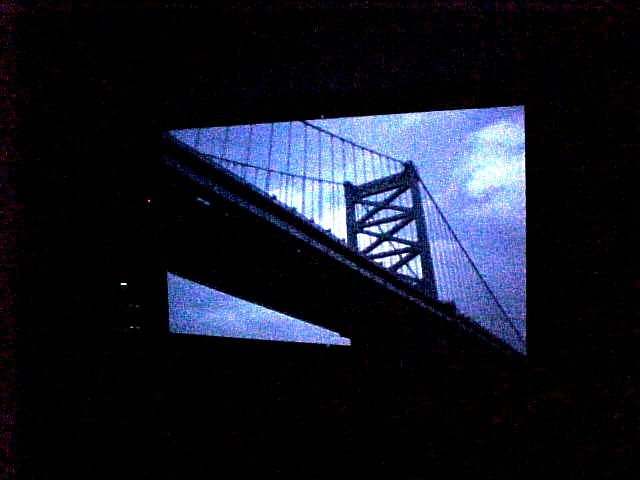
CRT adjustment is one of the most complicated things there is… not to get a picture, but to get the best picture you can get! If „Scheimpflug Adjustment“ or „Astigmatism“ does not ring a bell, you probably should have re-adjusted your CRT by qualified personnel.

We used the Burosch DVD Discovery to setup the CRT projector for the different PAL resolutions.

And then finally, somewhen in May 2001, we did it… sound and picture were calibrated, all the seats have been mounted, all the panels stuck in place, all the equipment was connected… and the AMX system was programmed. POWER ON, PLAY MOVIE, VOL REF… just sit back and enjoy the ride!

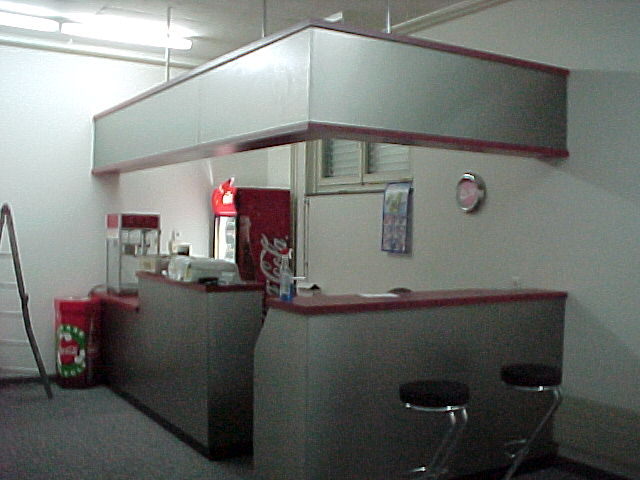
Well, the best movie is only half as good if you can’t have popcorn and a coke with it… that’s why we decided to add a little counter with a 6 oz. popcorn machine, a Coca-Cola refrigerator and a Pierrot-Lusso deep freeze and some candy bars.

2020 Upgrade

New Klipsch speakers arrived.

First removing old speakers and subwoofers.

After cutting the large space for the new speaker into the wall a cabinet was build behind the wall to place the speakers on it.

Placing the new speakers on the cabinet.

Speakers are placed, cables connected.

Sealing the gaps between the spearer – ready to test.